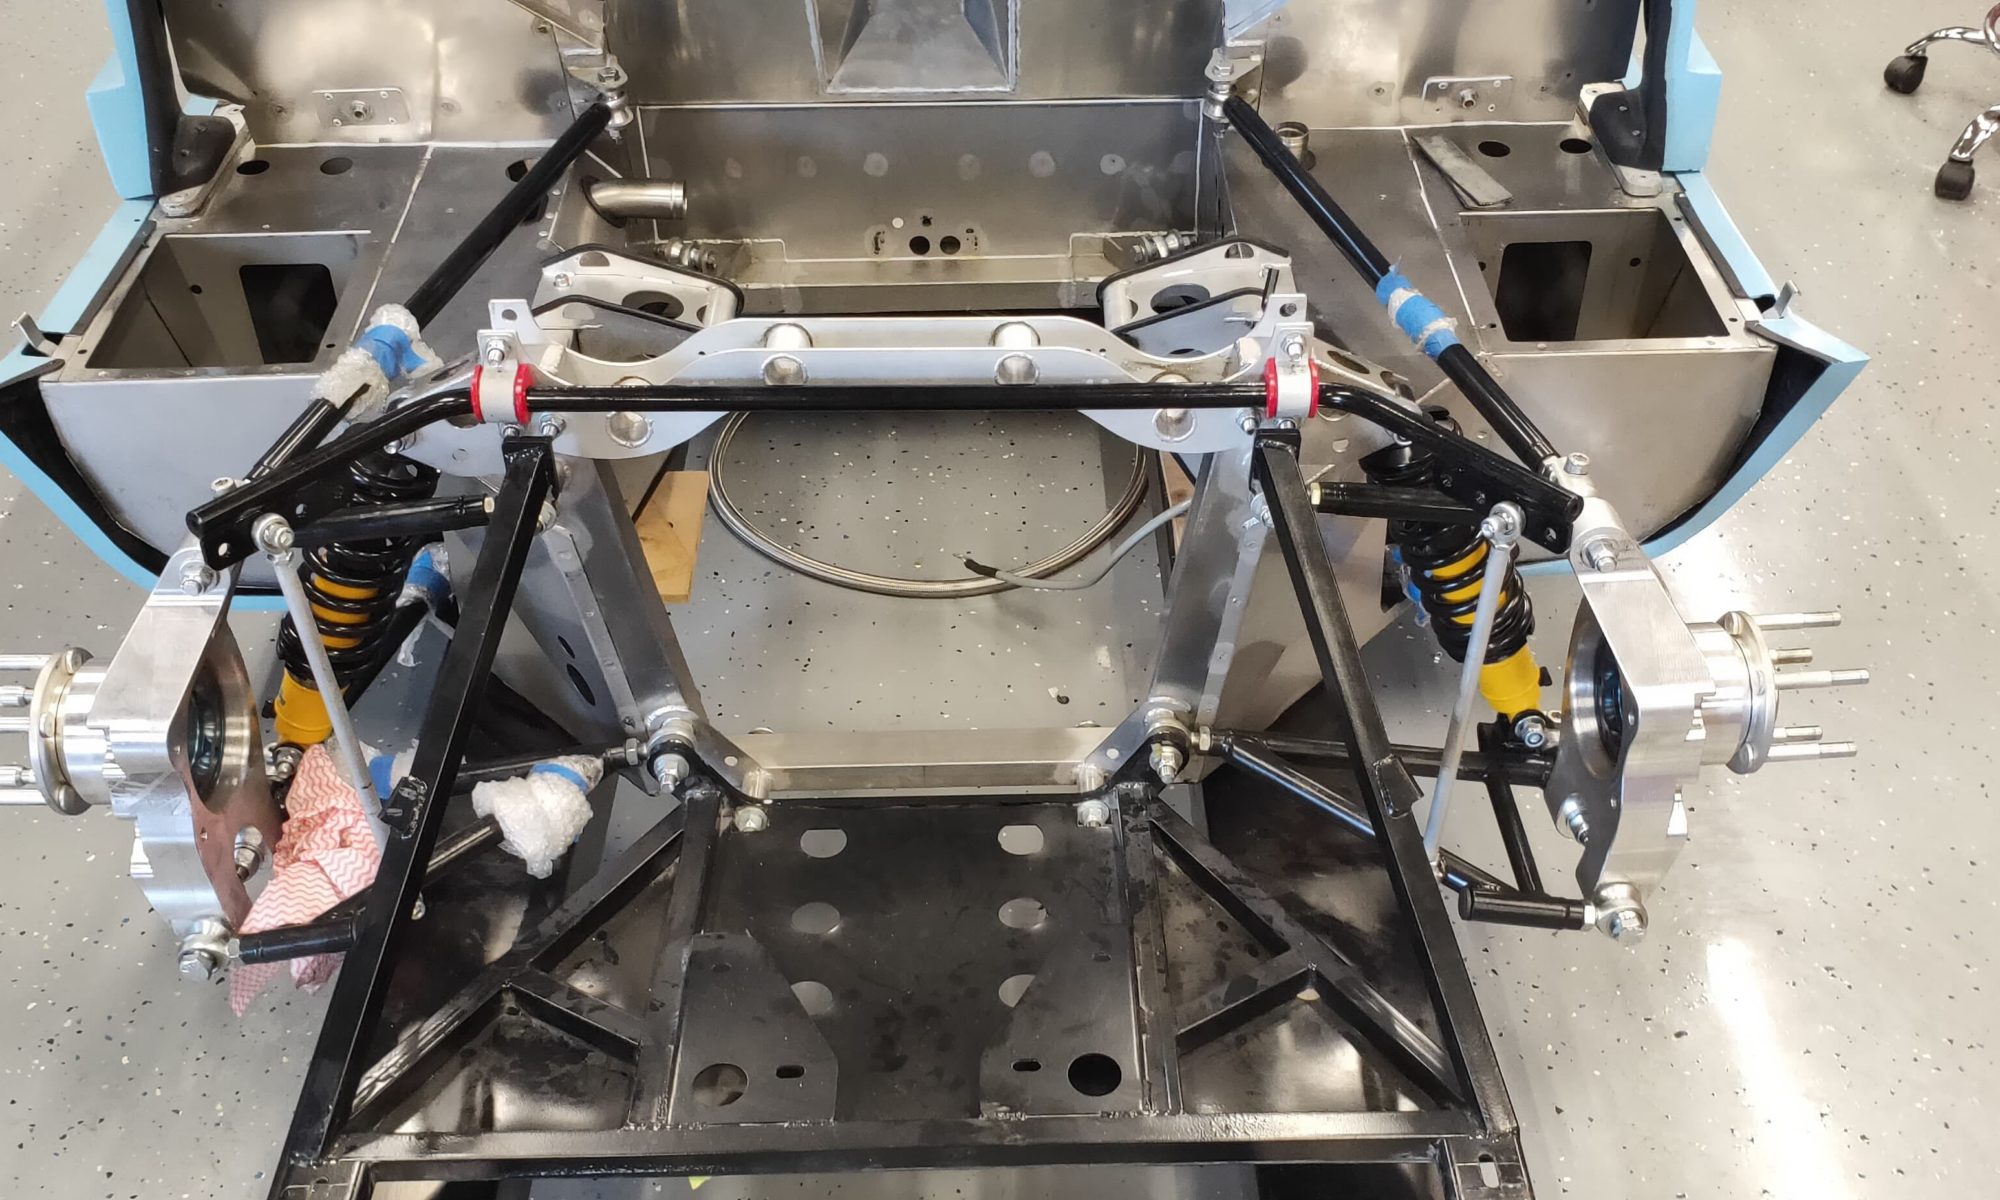
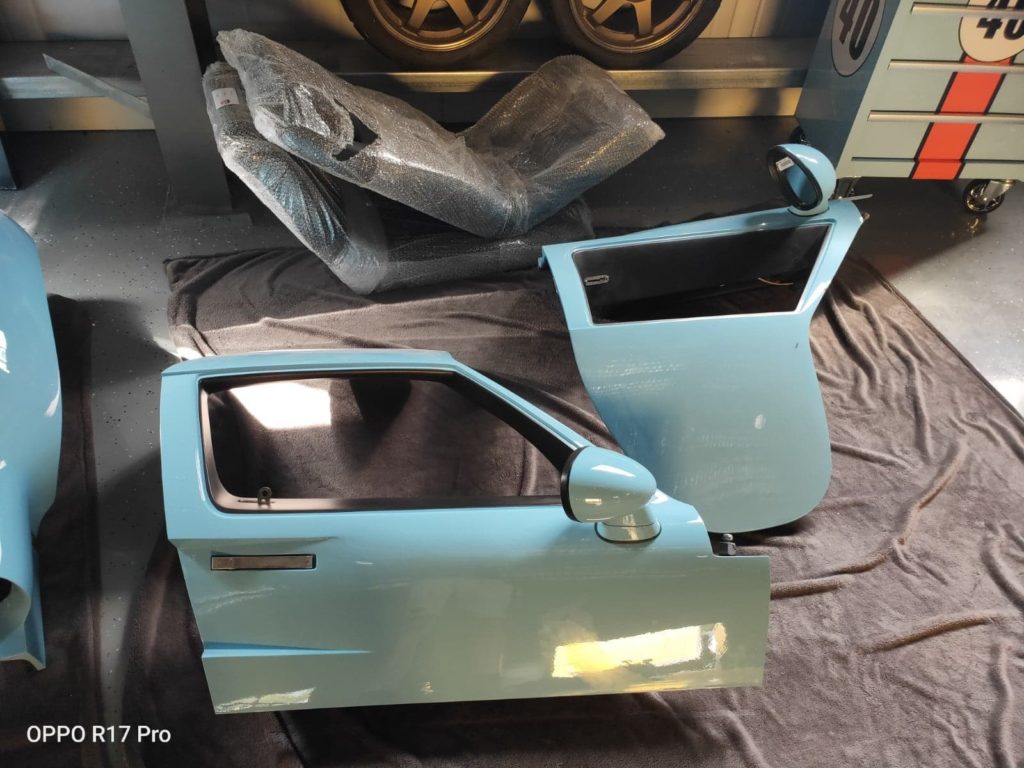
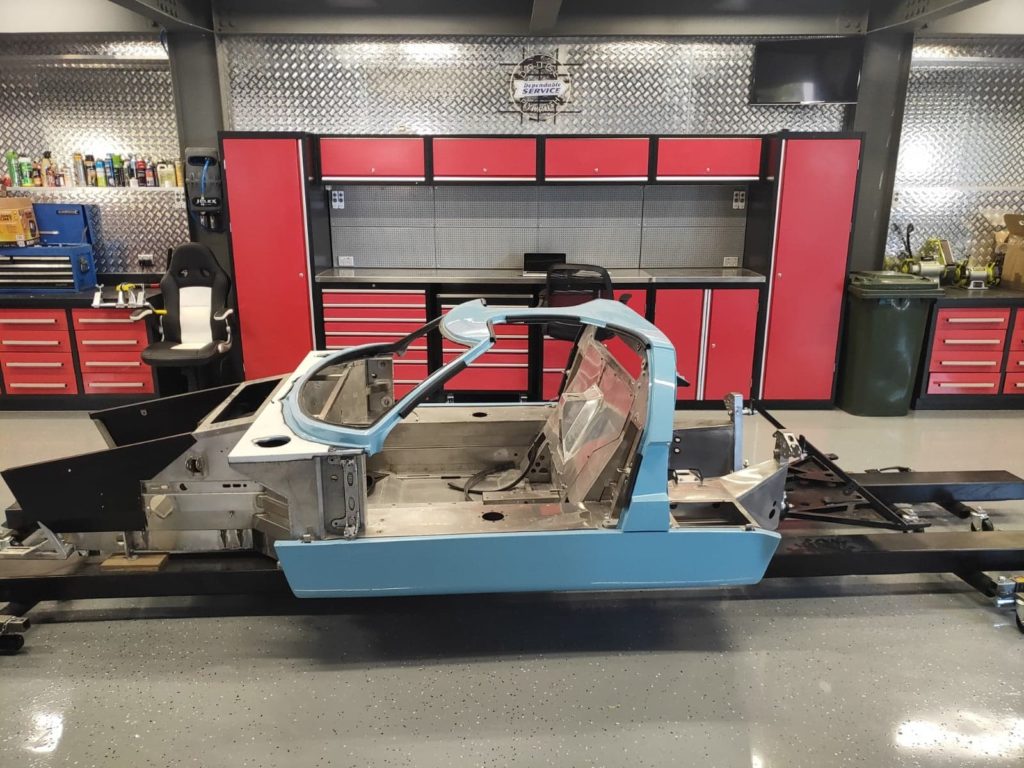
Rear suspension, clutch master cylinder, steering rack and front side panels.

Bolting on the rear suspension is a relatively easy job with just a few little things to consider. It’s important to check all the threads on the threaded tubes on the wishbones etc. I had one wishbone bind up when screwing on so it is a good idea to run a tap through them before fitting. Also use a good anti seize product on all threads like Loctite 771 or a copper grease.

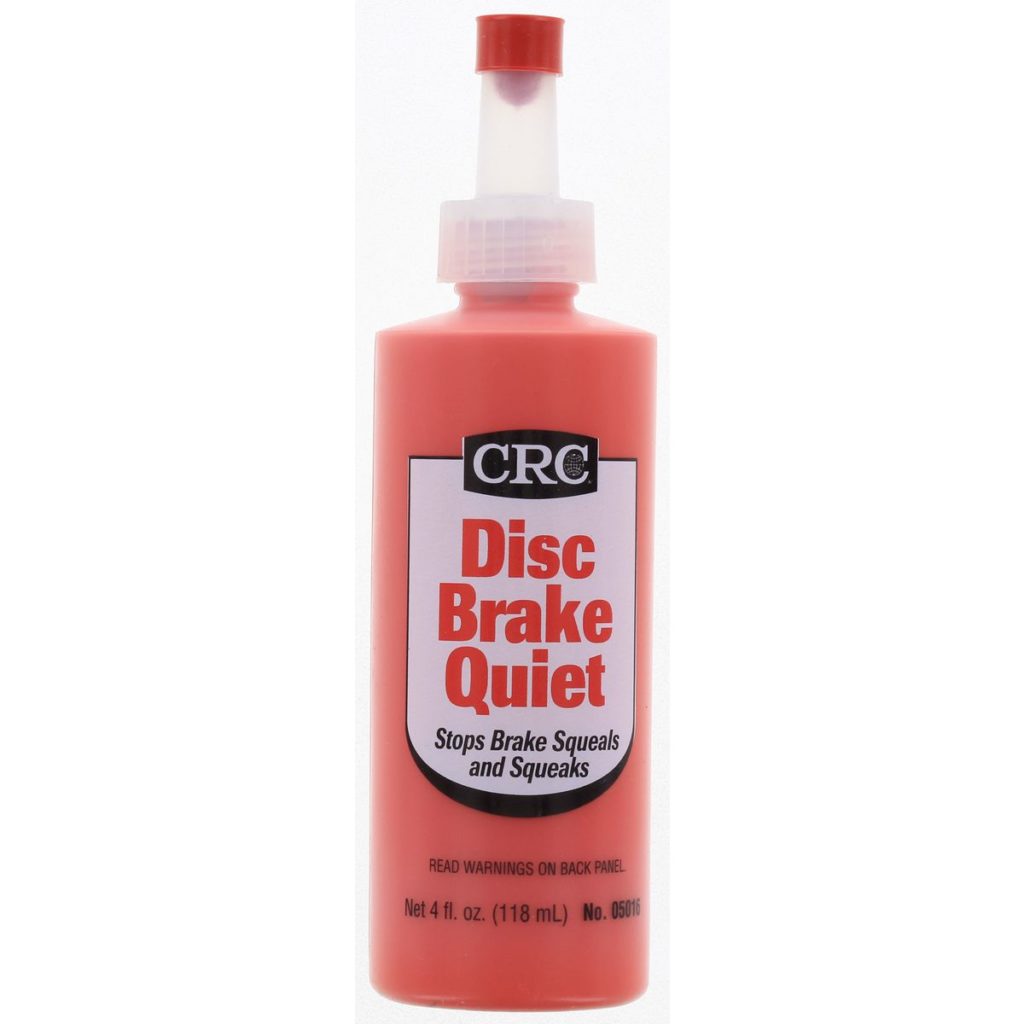
Once everything is tightened I mark them to show that I haven’t forgotten to tighten them with either a product called Torque Seal, which is quite expensive and more designed to indicate if a nut or bolt is working loose, or use what I do which is a common anti brake squeal. CRC Disc Brake Quiet is ideal for the job as it is bright orange and sticks really well.
Suspension tightened and marked

The clutch master cylinder takes 5 minutes to fit and the steering rack is a little more difficult as you have to make sure that the mounting plates and rubbers are positioned correctly to stop sideways movement of the rack. The left hand side also needs to be shimmed to ensure that the rack is level.
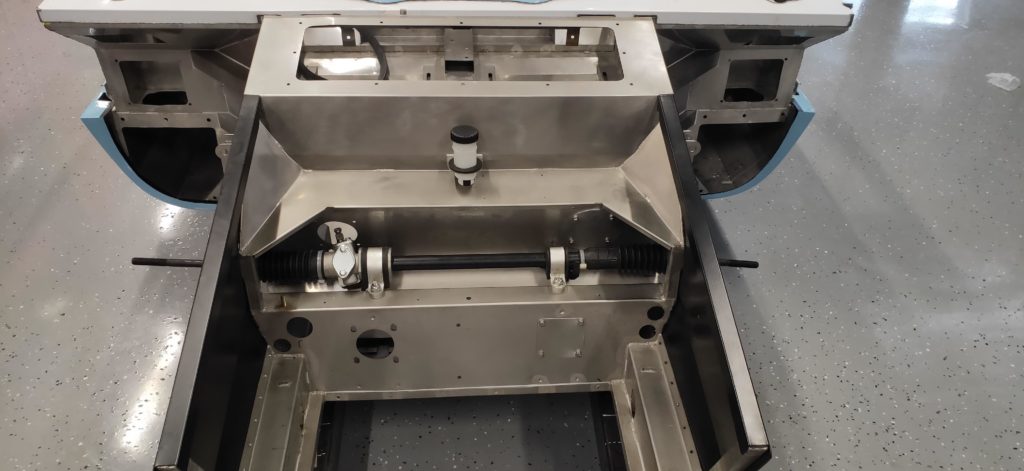
The front left and right cladding is not an easy job to do even though it looks simple. The high grade stainless steel chassis is very hard and there are 30 holes to drill! You must use a cobalt drill and use a lot of pressure and slow speed. It takes ages so be patient and be prepared to use a more than one drill bit.
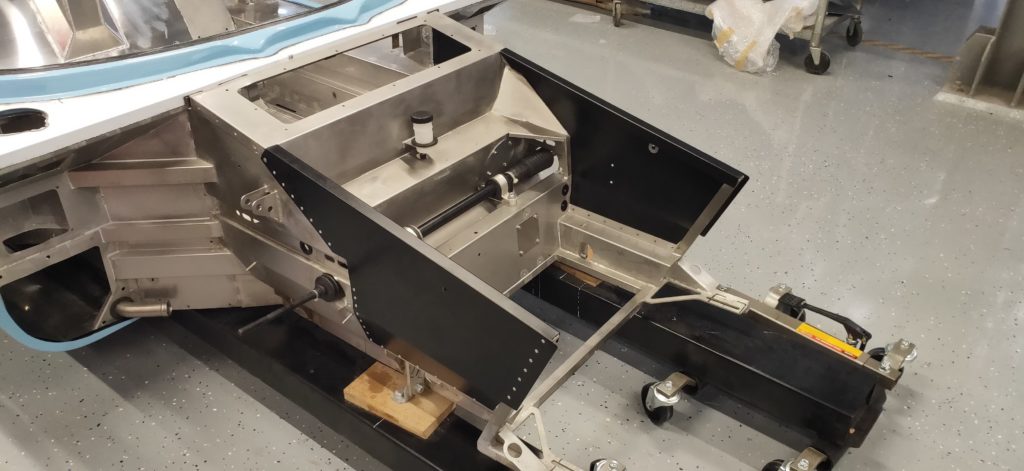
30 holes to drill so be patient!

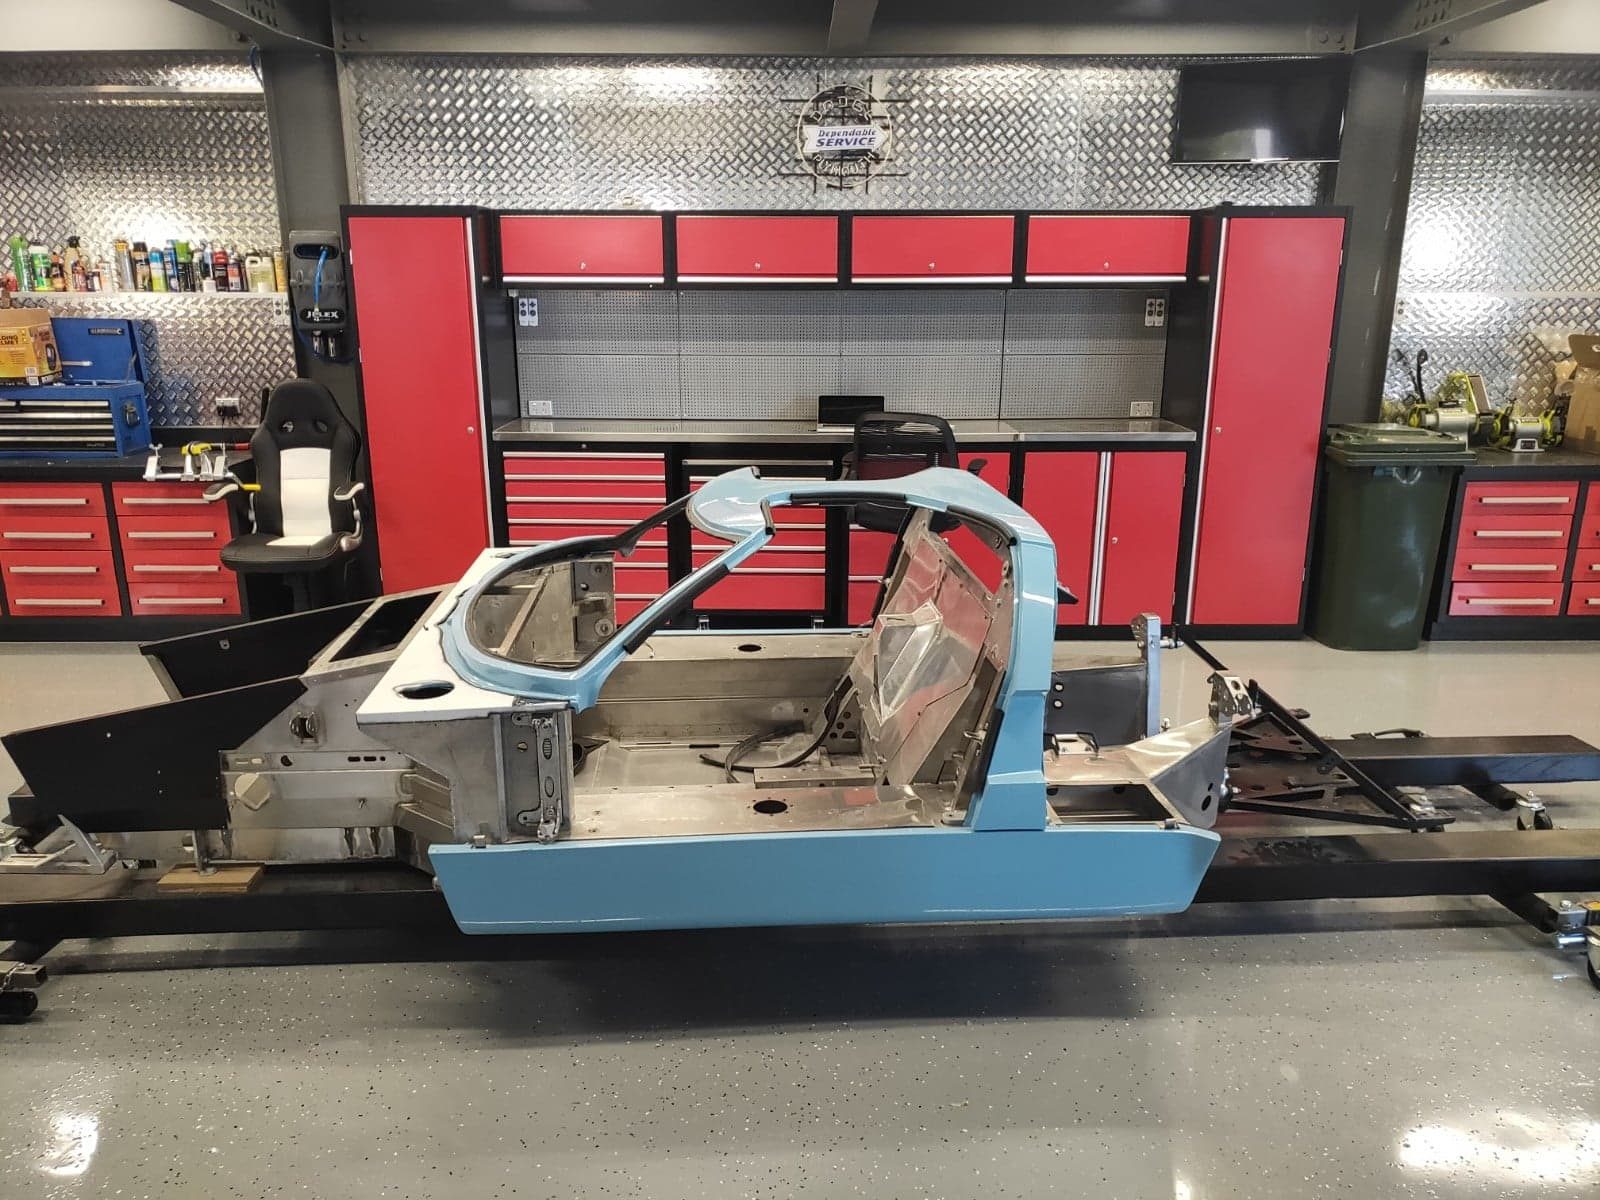
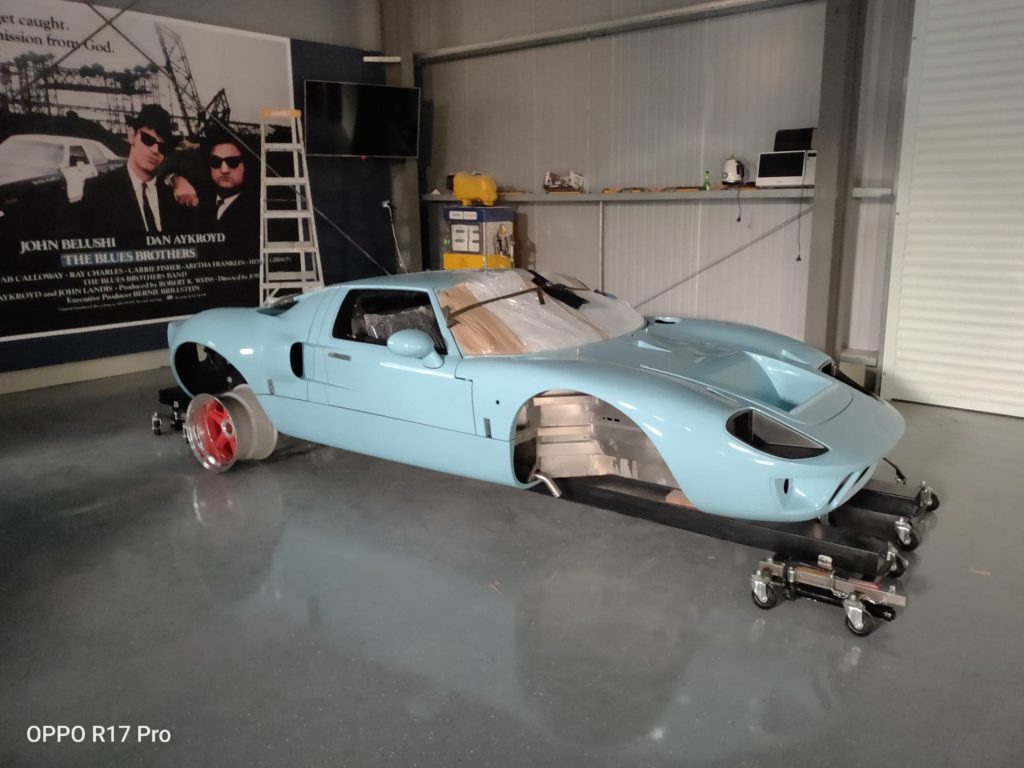
My build so far….

Since my car arrived in January I have been a little busy with other projects like finishing off the mezzanine in my shed for a reunion of all my old mates….. some I hadn’t seen for 35 years or so. It was great to catch up with those maniacs and we were all surprised that we were still alive considering all the crazy things we used to do especially in cars! I received a lot of good comments about the shed and the GT40.

Now that is all over I can finally get stuck into it! One issue that is slowing me up is that CAV normally builds turnkey cars for other countries which means that they don’t have a comprehensive instruction manual… yet. I will be writing the manual as I build my car so that my customers will be able to build their car very quickly indeed.

In Australia we can’t import cars like this as a turnkey car… they can only be imported under what’s called the Individually Constructed Vehicle (ICV) scheme which means that they have to be imported as a kit. The kit also can’t be imported with an engine, gearbox, wheels or axles in the container (not sure who came up with that!) so they all have to be sourced separately. It all sounds quite daunting initially but it is quite easy once you have been through the process and it’s my job to help my customers through the bureaucratic hurdles.

For my car I will be fitting the 5.0 litre Ford Mustang Gen 2 engine. This is a good choice as whatever engine you fit it must pass emission regulations and the Coyote has no problem doing that. The gearbox I have chosen is an Audi O1E that is coming from the US and I have already found a good supplier of Halibrand and BRM wheels at very reasonable prices. I have also sourced axles locally for my customers.

Below are some photos of my car and the process so far so please keep an eye on this blog for my updates on my build.

If you have any questions just email or call me anytime. Hope to hear from you soon.

Best regards

Paul

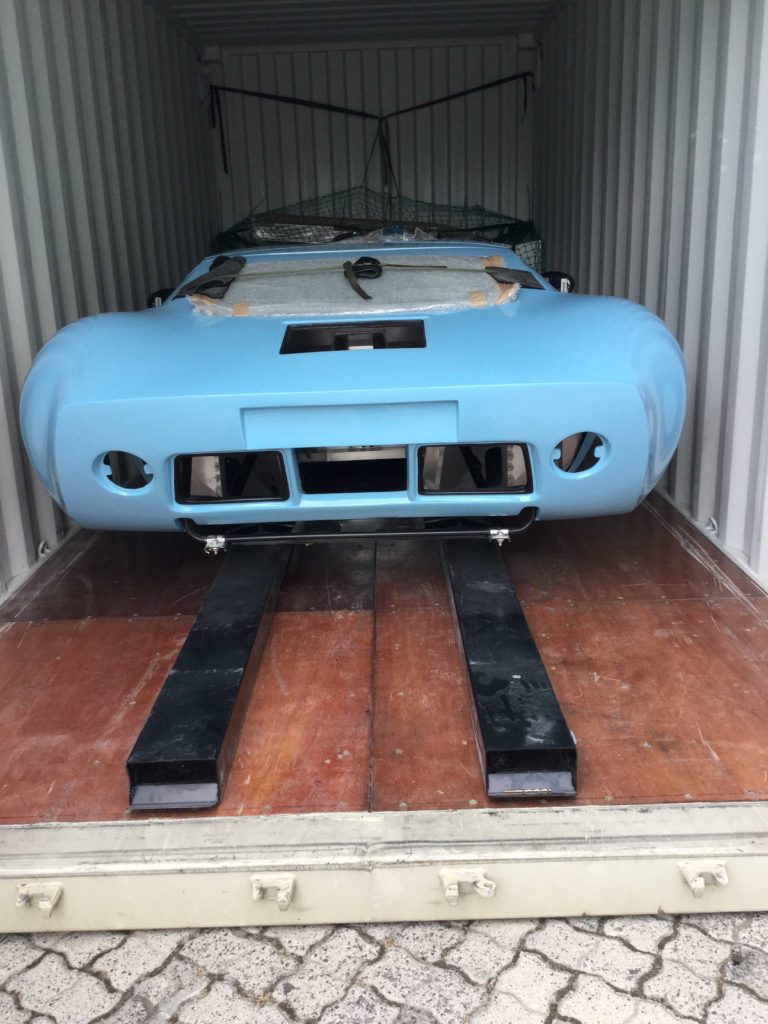
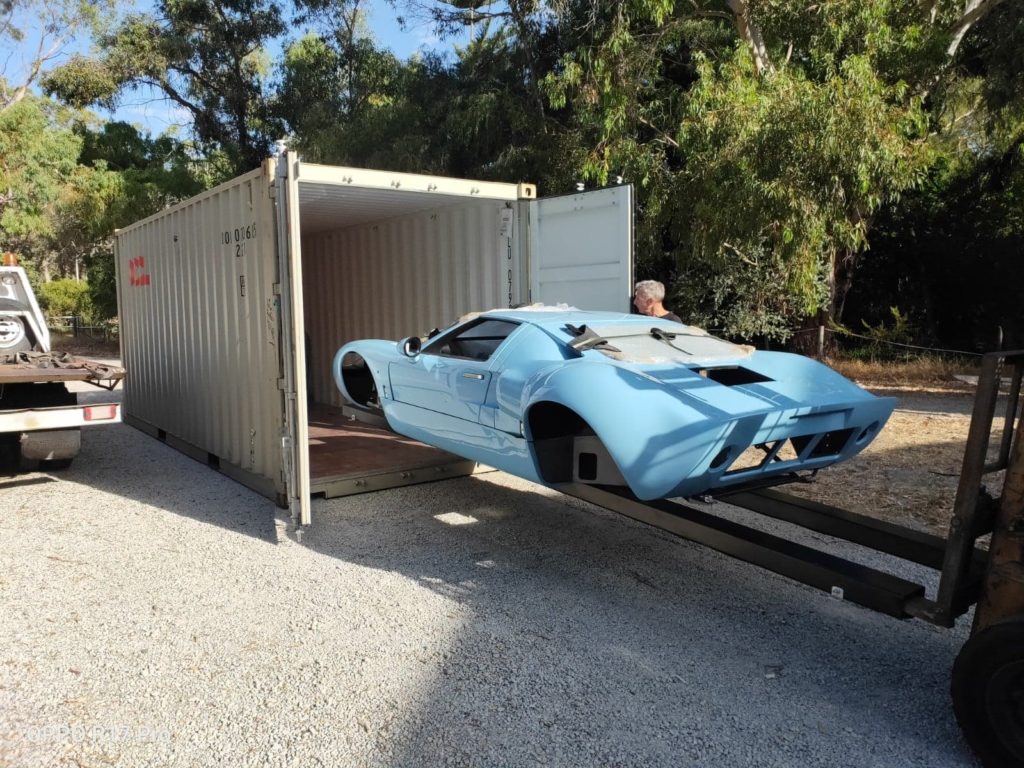
This is how your car will arrive from South Africa…
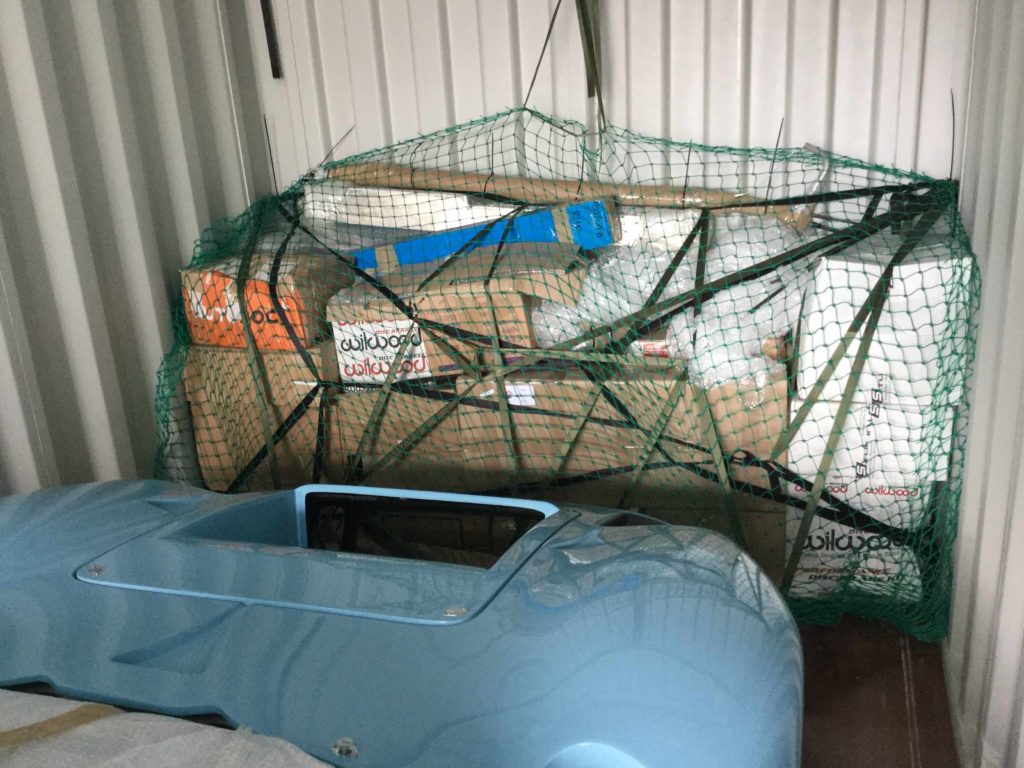
All the other parts that you need to complete your car minus the engine, gearbox, wheels and axles are packed in boxes.
All you need is a forklift and it will literally take you 30 minutes to unpack your car and the cartons of parts.
I bought a set of 4 wheel jacks so that I can roll the car around the workshop.
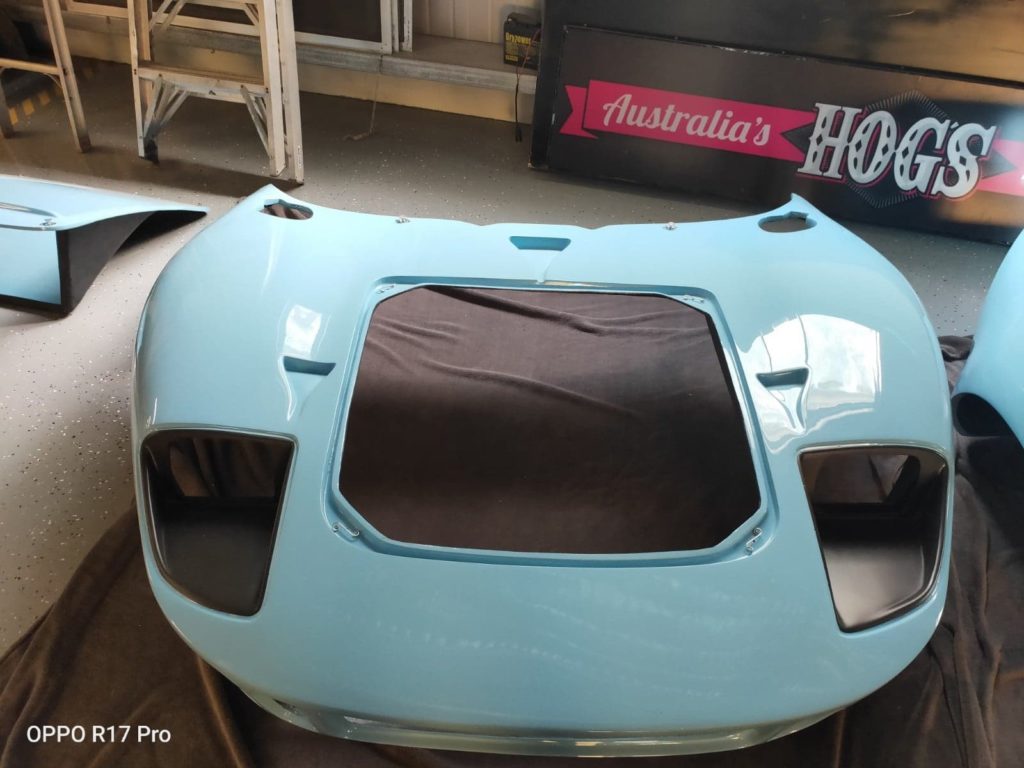
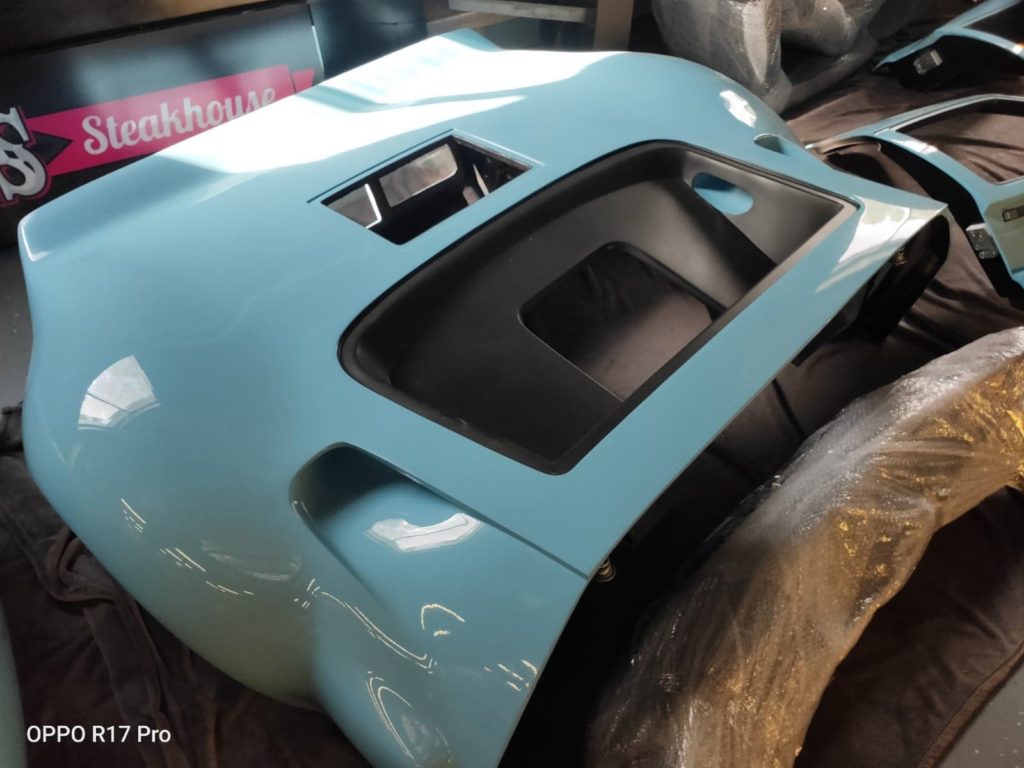
The front and rear clam shells and doors can be removed in no time and once done you are ready to start your build!
Ready to go!