
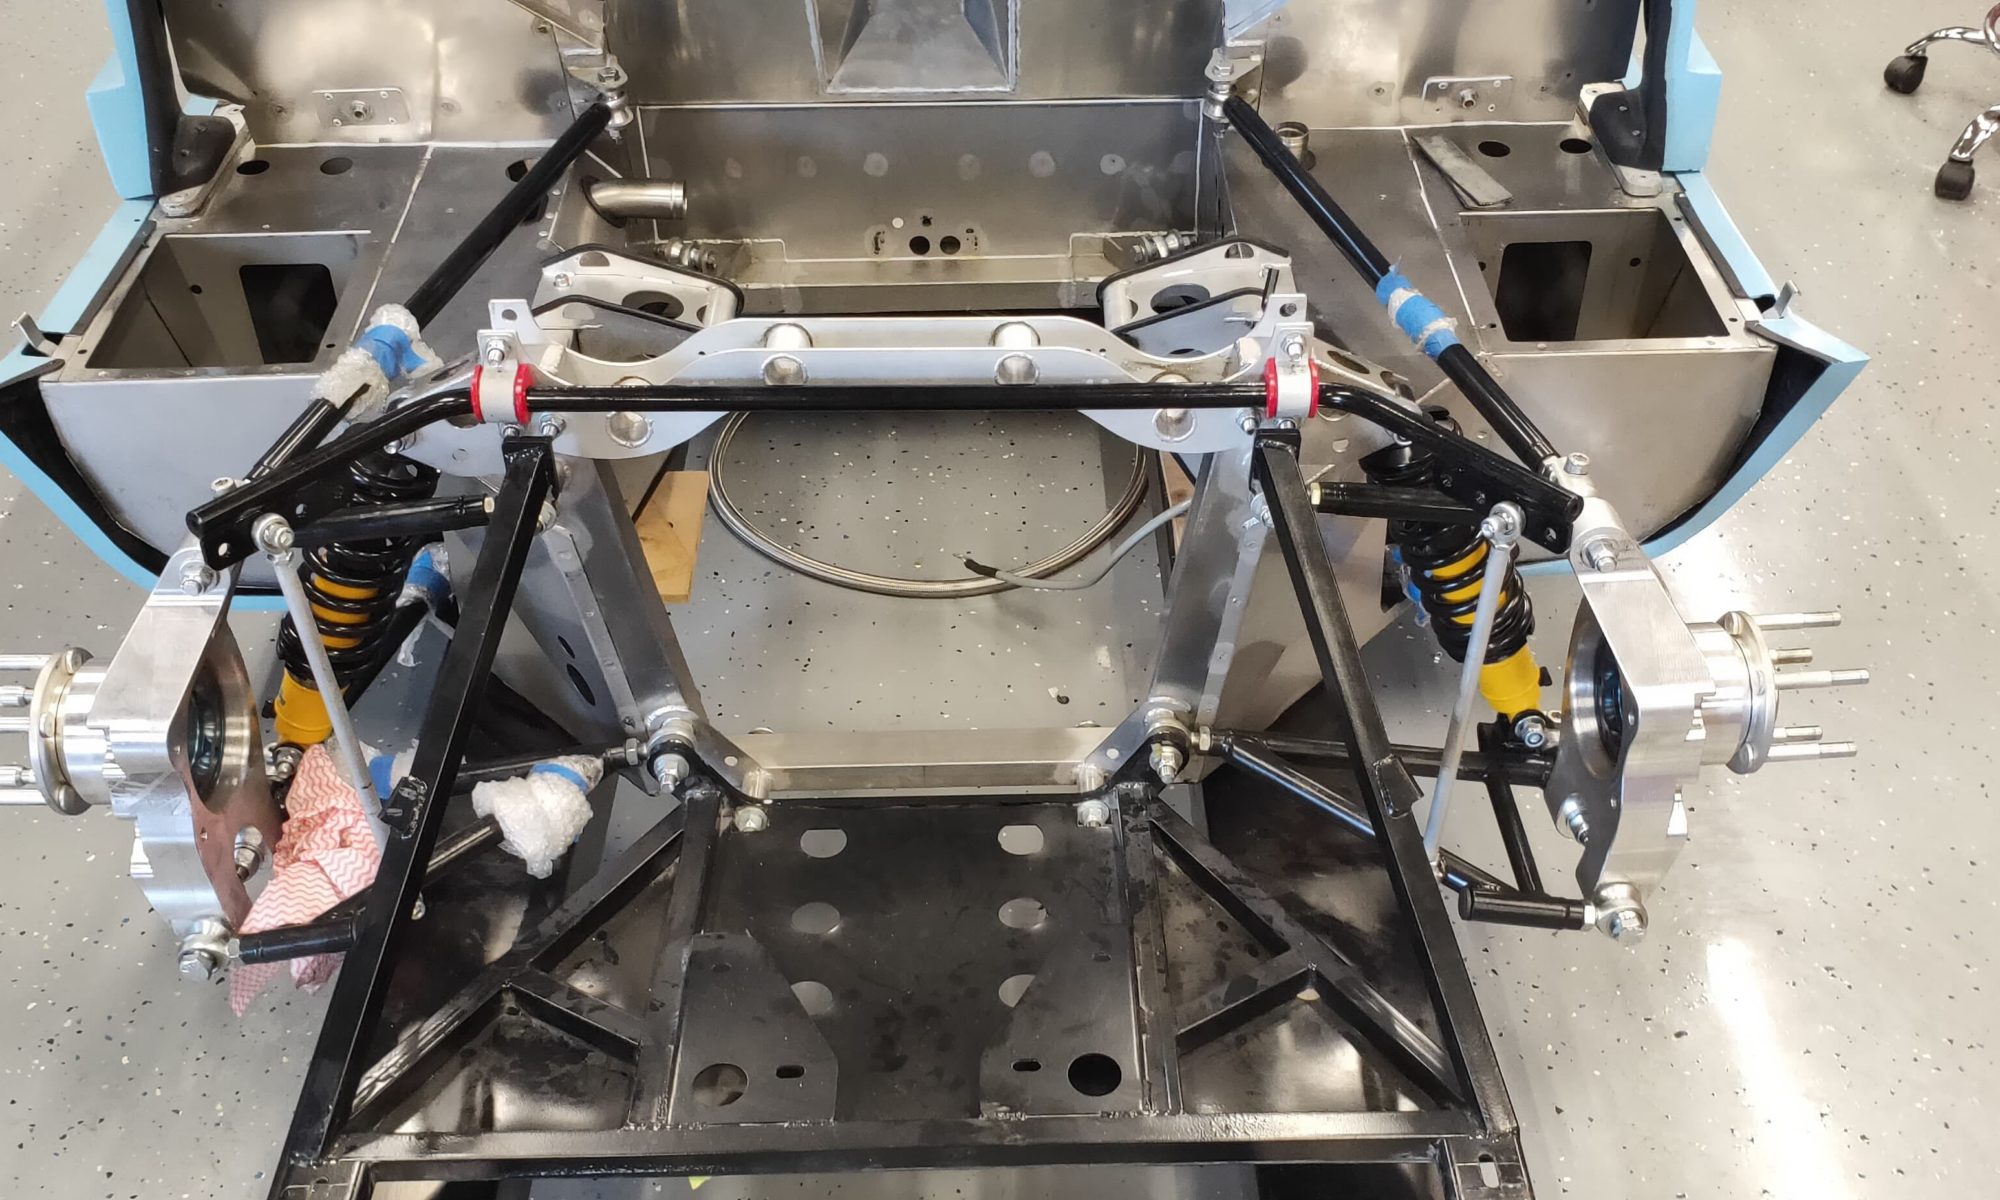
Bolting on the rear suspension is a relatively easy job with just a few little things to consider. It’s important to check all the threads on the threaded tubes on the wishbones etc. I had one wishbone bind up when screwing on so it is a good idea to run a tap through them before fitting. Also use a good anti seize product on all threads like Loctite 771 or a copper grease.
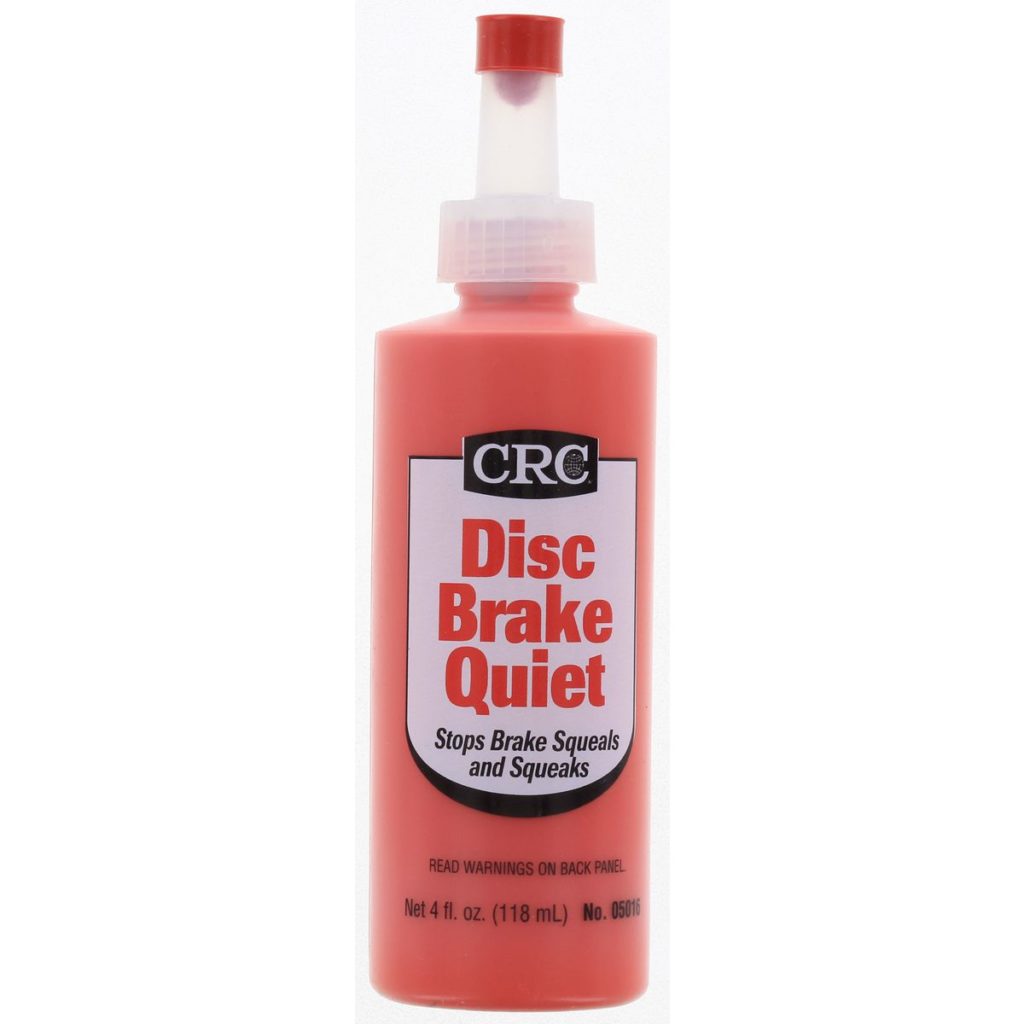
Once everything is tightened I mark them to show that I haven’t forgotten to tighten them with either a product called Torque Seal, which is quite expensive and more designed to indicate if a nut or bolt is working loose, or use what I do which is a common anti brake squeal. CRC Disc Brake Quiet is ideal for the job as it is bright orange and sticks really well.

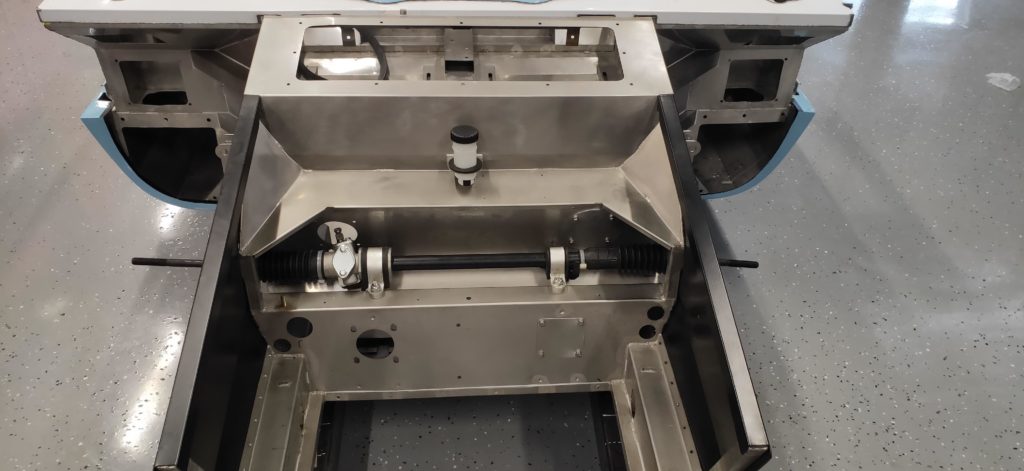
The clutch master cylinder takes 5 minutes to fit and the steering rack is a little more difficult as you have to make sure that the mounting plates and rubbers are positioned correctly to stop sideways movement of the rack. The left hand side also needs to be shimmed to ensure that the rack is level.
The front left and right cladding is not an easy job to do even though it looks simple. The high grade stainless steel chassis is very hard and there are 30 holes to drill! You must use a cobalt drill and use a lot of pressure and slow speed. It takes ages so be patient and be prepared to use a more than one drill bit.
